In this article, we'll cover:
- What are clickable images, and why add them?
- How to add clickable images
What are clickable images, and why add them?
Clickable images are images that have a link associated - as the name suggests, the learner can click on the image and this will open the page or website contained in the link. This can be another page in the Learning Library or an external website link.
Using this feature can help enhance the visual presentation of a Learning Library, and can also increase engagement as the information becomes more accessible.
How to add clickable images
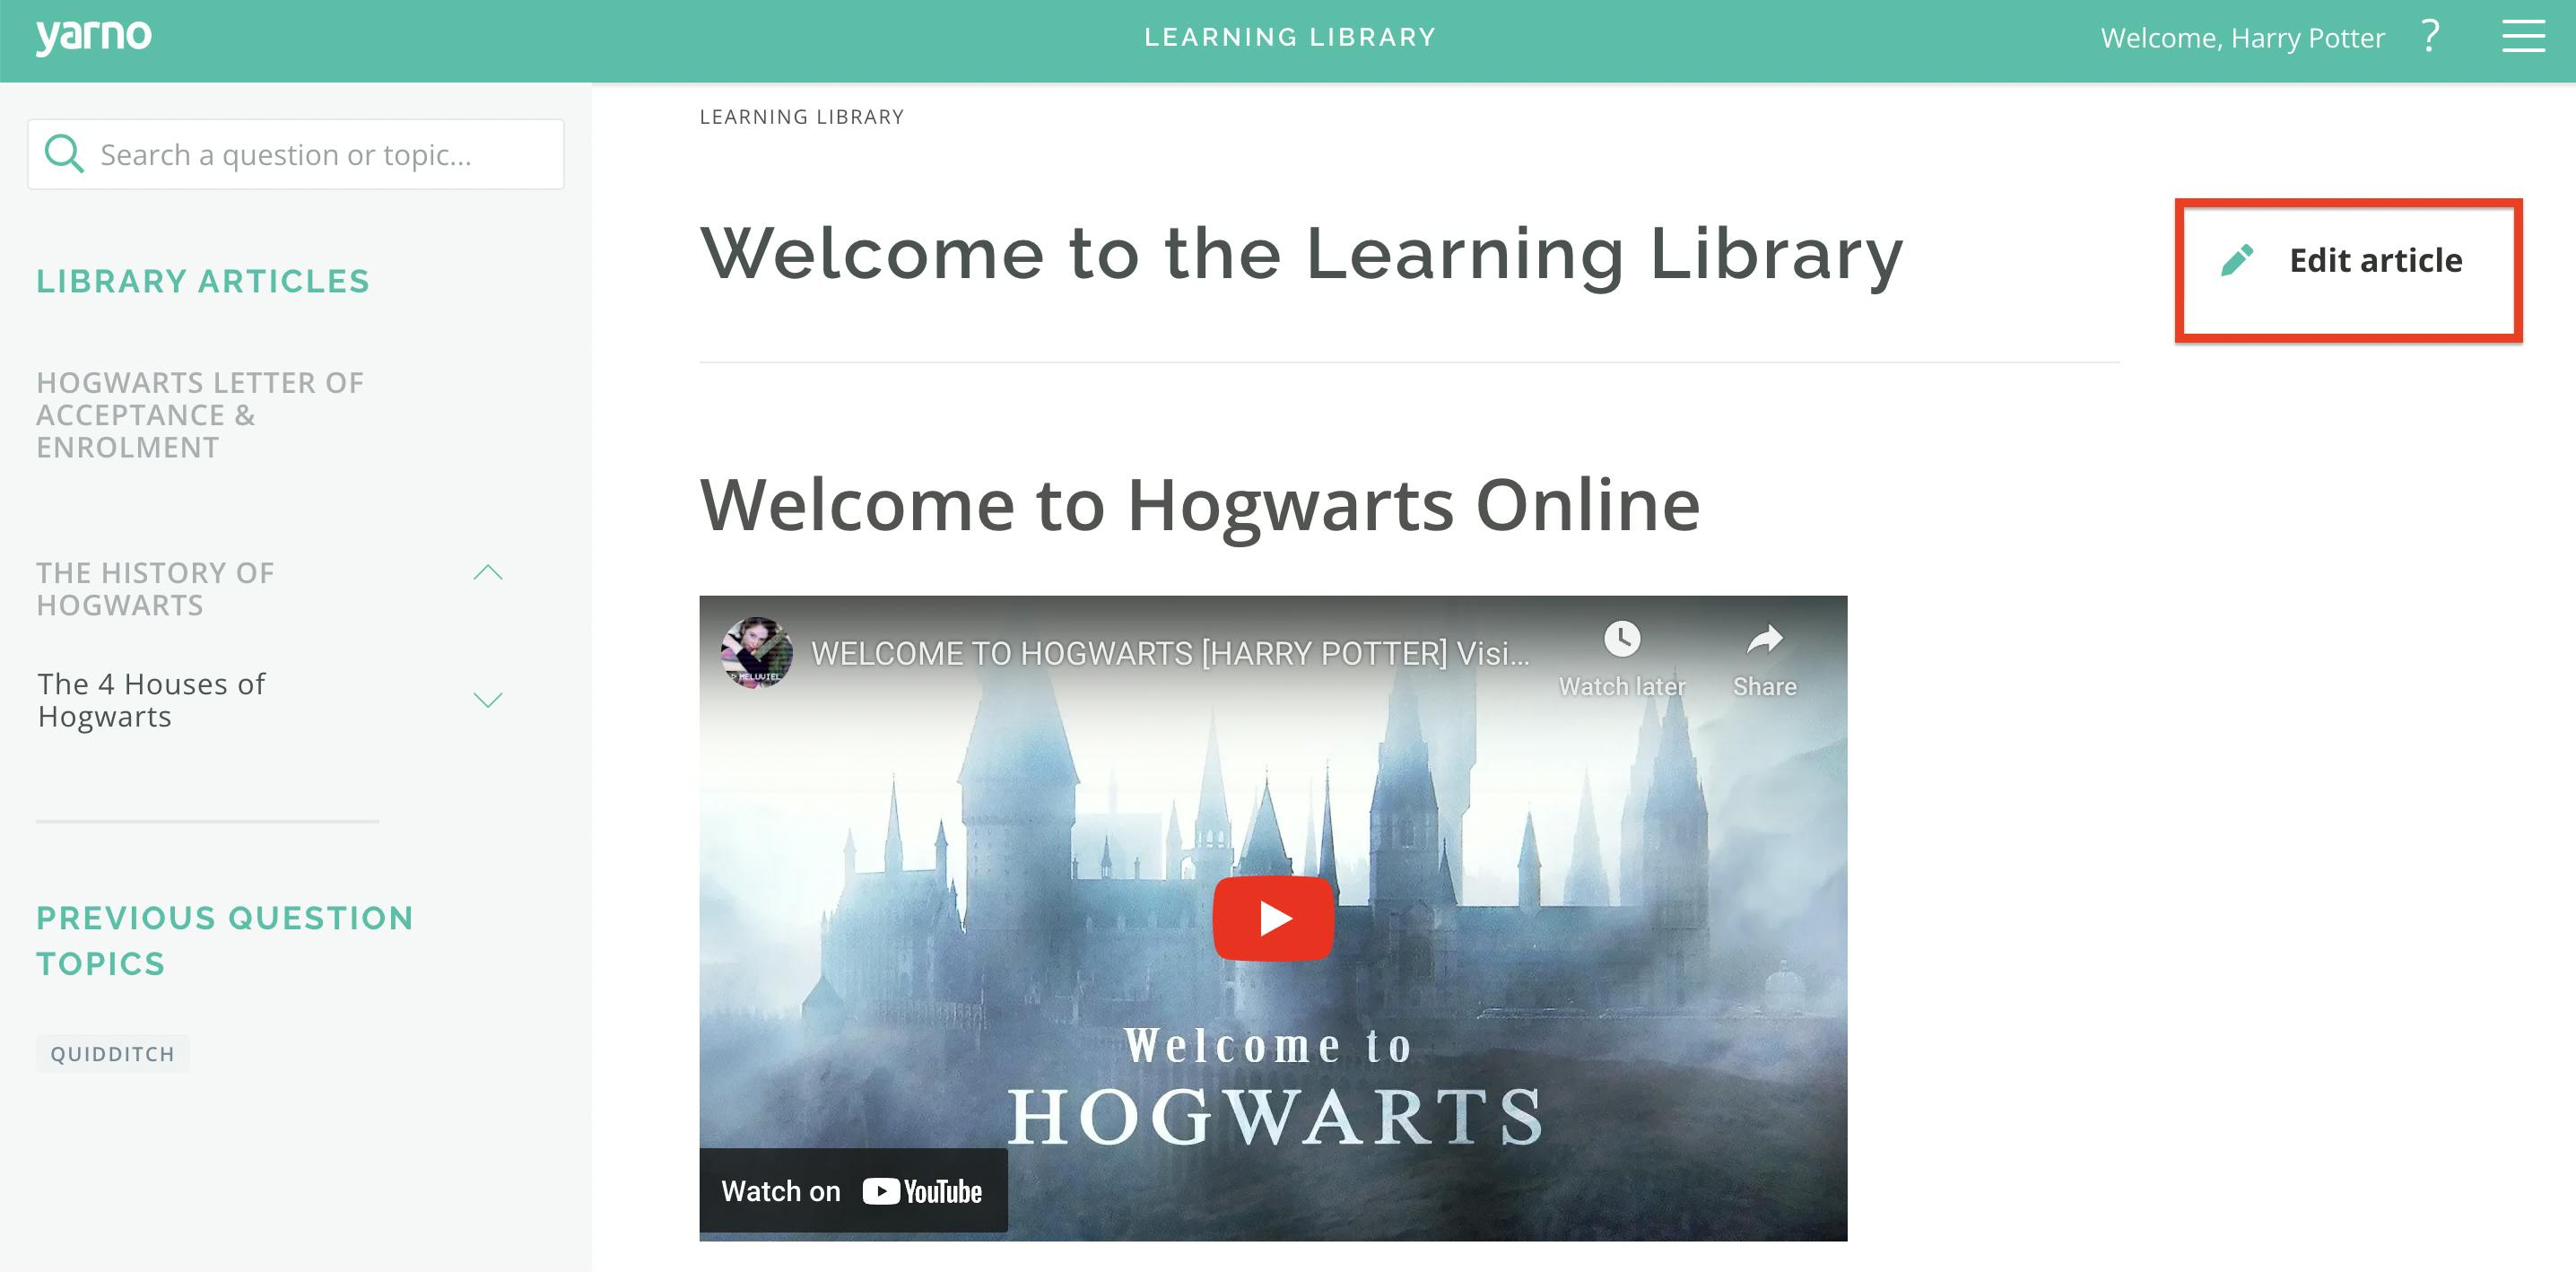
Step 1: Find an article in your Learning Library that you would like to add a clickable image to, and select ‘Edit Article’ in the top right hand corner.
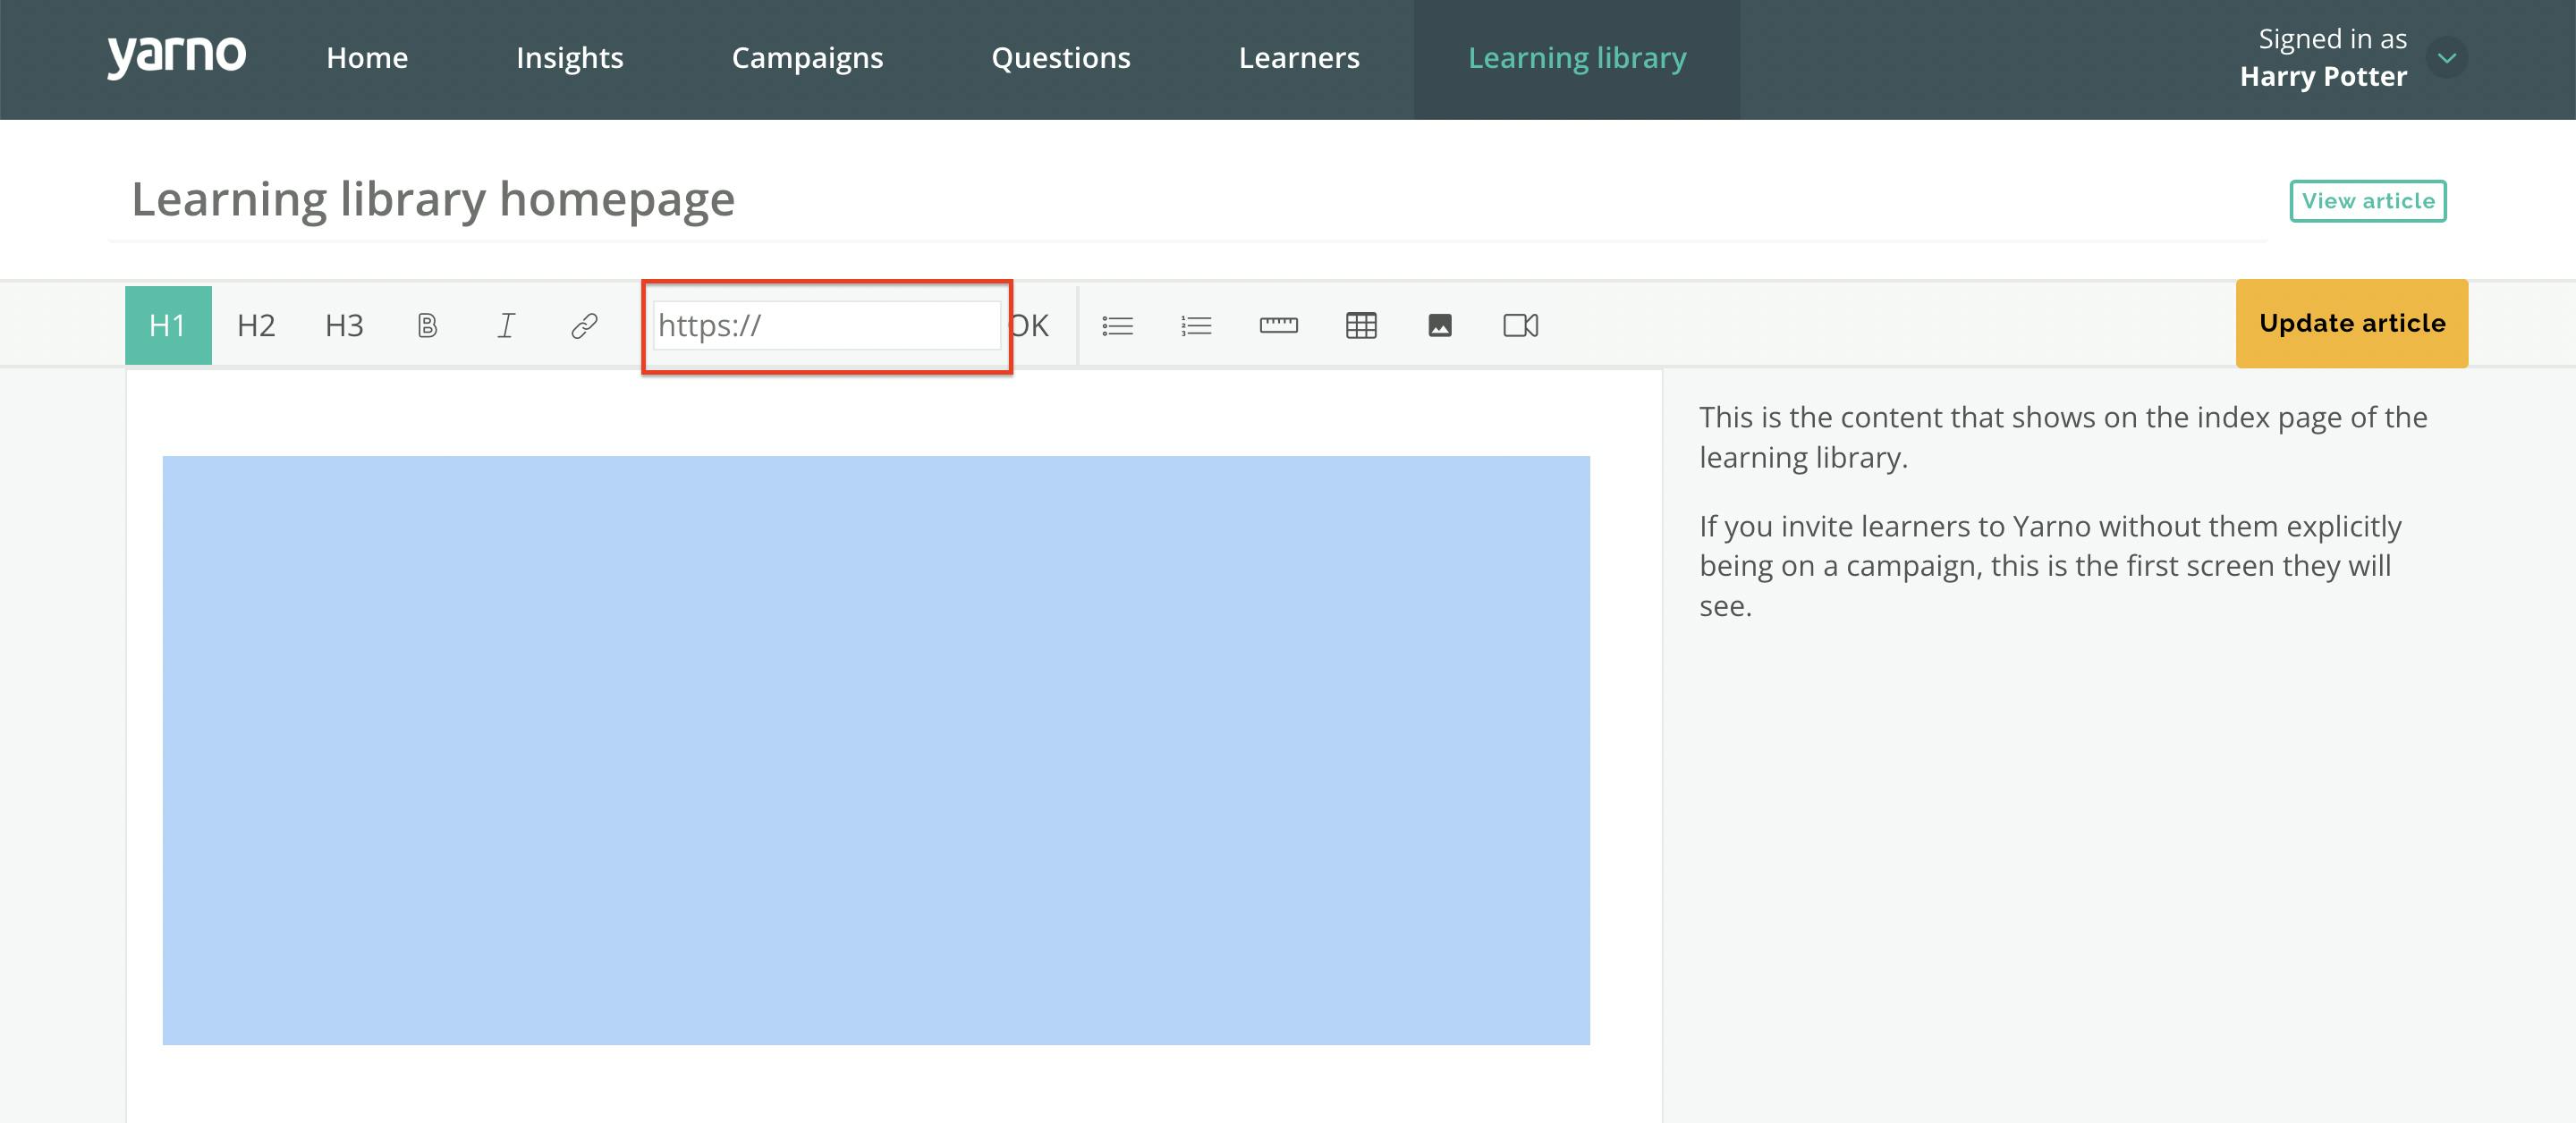
Step 2: Once you reach the window where you can edit the article, select ‘Add image’ from the top menu and find the image you would like to include.

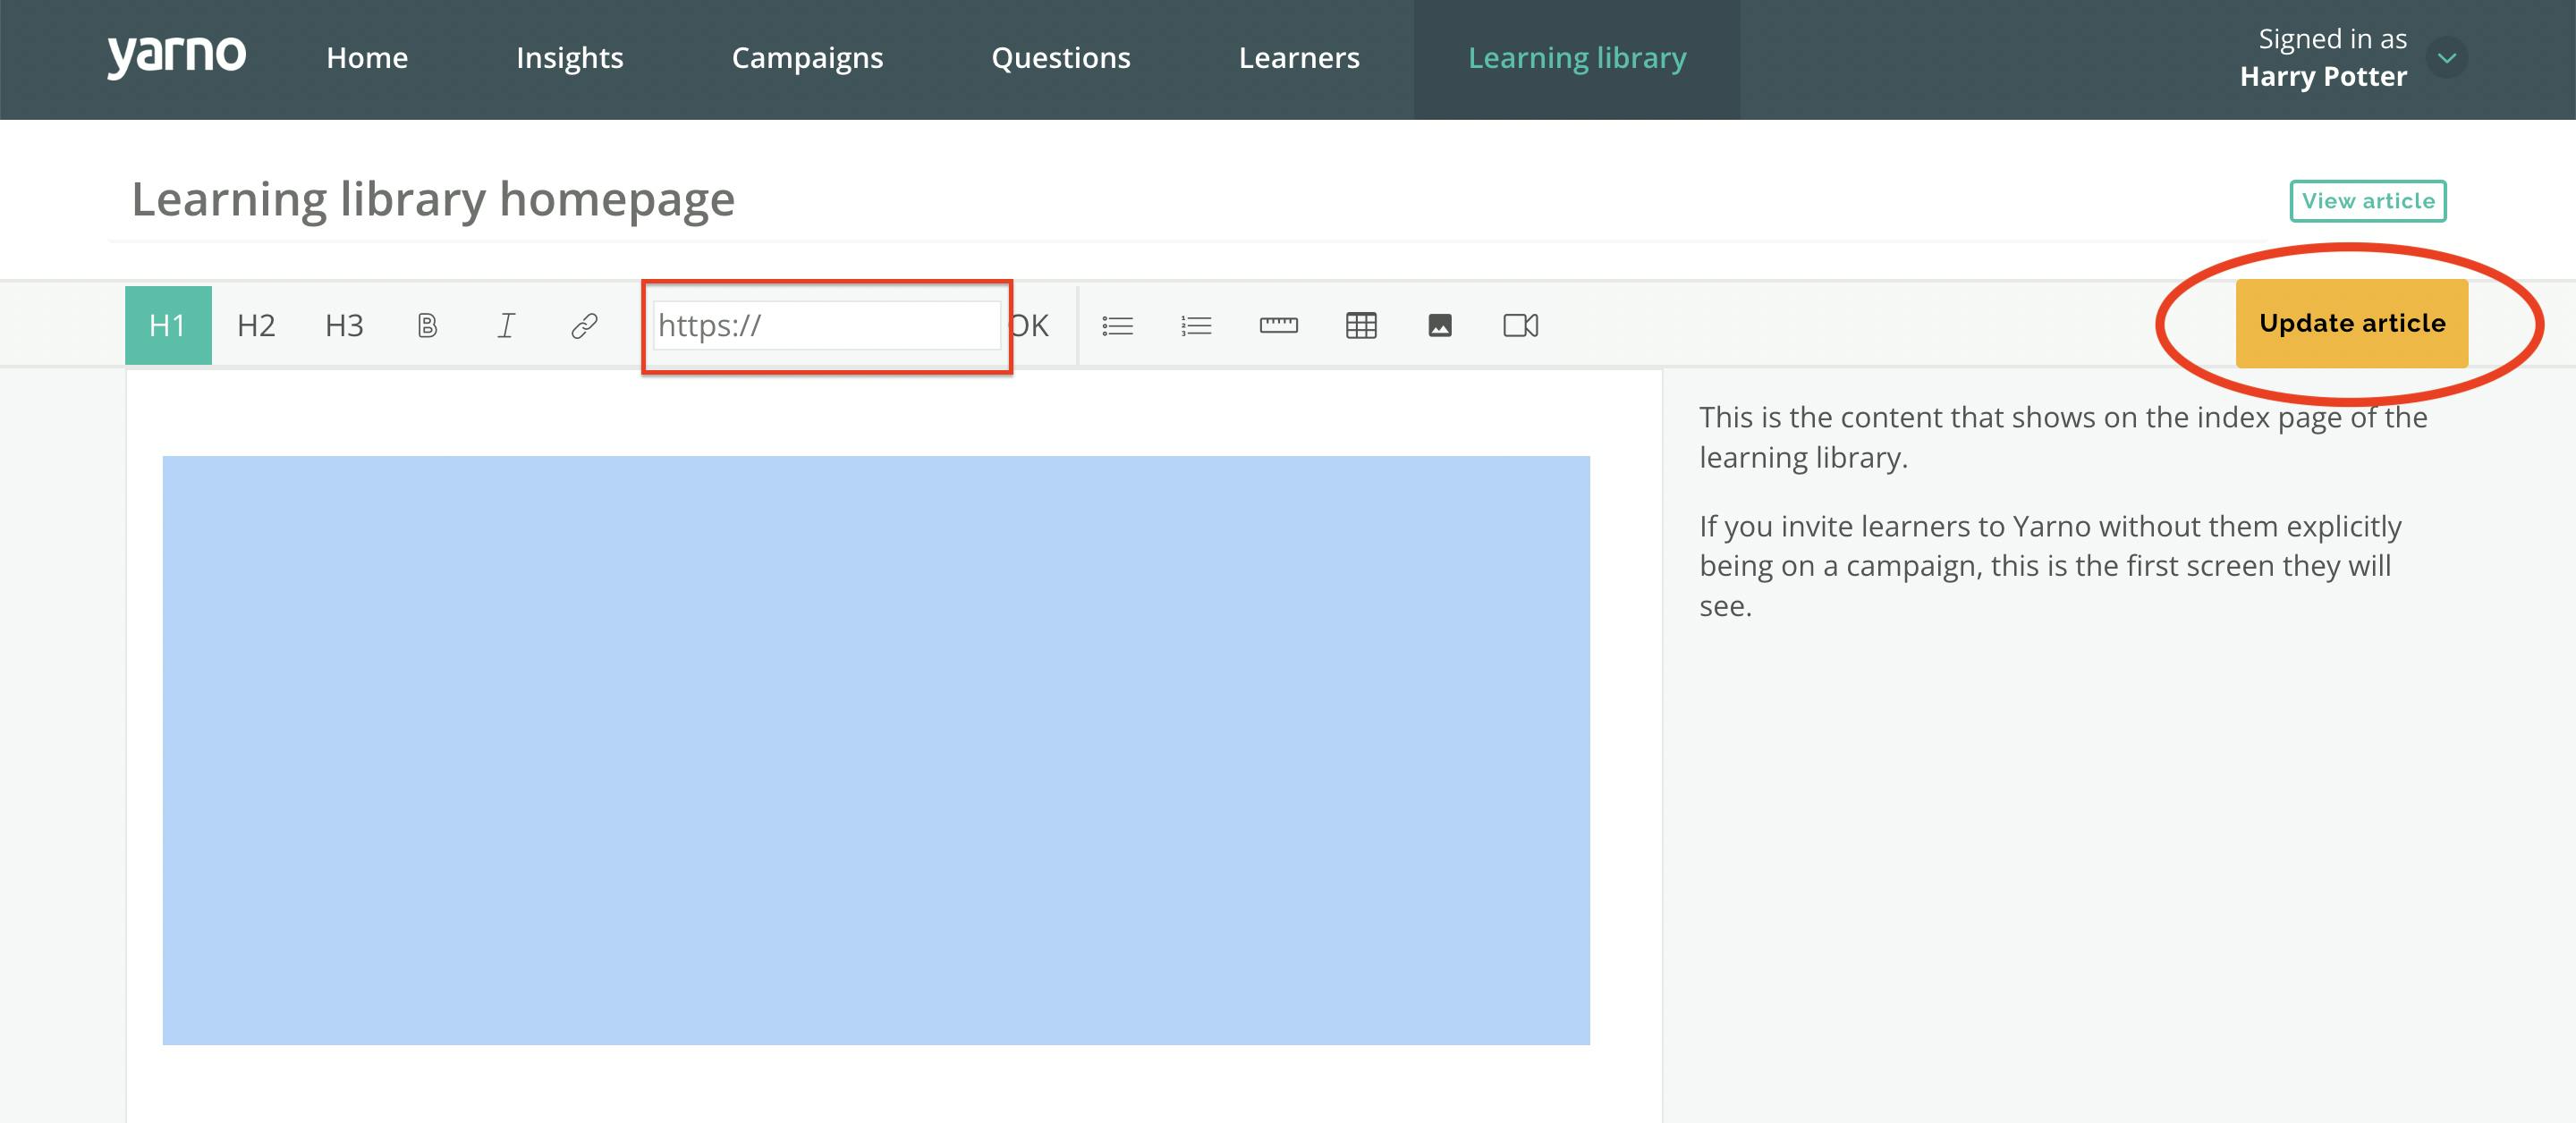
Step 3: Once your image has been uploaded, drag the cursor over it so that it’s highlighted. While it’s highlighted, click on the ‘Add Link’ icon on the menu above, then enter the URL of the webpage you would like the learner to see when they click on the image and hit ‘OK’.
Step 5: Now that you have inserted the image and included a link to make it clickable, simply hit ‘Update Article’ to save your changes. When you view the saved article and click on the image, it should now send you to the linked webpage.